How to Make Your Own Bath Bombs
Posted by The Salt Box on 17th May 2018
There are few better ways to unwind than a taking a long, hot soak in a bath. The benefits of ‘subversive therapy’ (as they call it), are well documented. It’s a great way to relieve muscle tension and expel any lactic acid build-up. It will help stimulate circulation and soothe sore, aching muscles. Plus it’s a great way to cleanse and hydrate the skin. But what about when you want to supercharge a soak? Bath bombs are an excellent way to go.
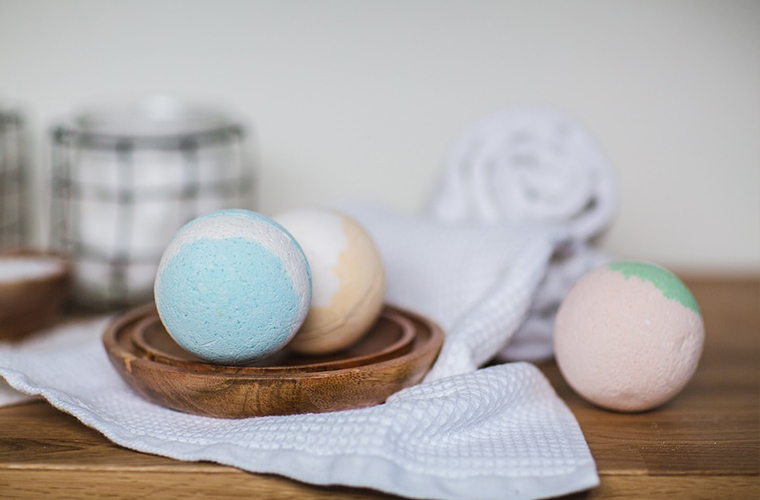
Everybody loves bath bombs, but did you know they are really easy to make at home? Here's how!
We’re sure you’ve tried a bath bomb before; they are the classic Mother’s Day or Christmas gift and the perfect indulgence after a long, hard day. But did you know that they are actually really easy to make at home?
There are a few benefits of doing this: it’s much more affordable than buying expensive mass-produced bombs, you can have complete control over what goes in them (sometimes they can be packed with nasty chemicals that aren’t great for your skin), and it’s really fun!
How To Make Your Own Bath Bombs
Like any good DIY project, bath bombs can usually be made from ingredients you likely have lying around the house. They also don’t take long at all and are really easy to make. (Tip for mums: this is a great thing to do with your kids!).
What you’ll need:
You may not have natural citric acid lying around the house, but you can buy it from just about any supermarket or health food store.
Epsom salt is a compound of magnesium and sulfate. Both of these minerals have a wide range of benefits for your body, from relieving muscle aches and pains to eliminating toxins and reducing stress. Reads more about the benefits of Epsom salts here.
Magnesium salts are brilliant for those with a magnesium deficiency or who exercise regularly. It helps relax the muscles and prevent them from cramping or spasming, and it also helps replenish red blood cells and reduce inflammation. Read more about magnesium flakes here.
Dead sea salt is packed with trace minerals, including magnesium, calcium, sulfur, bromide, iodine, sodium, zinc and potassium. These benefit the skin in a number of ways, from exfoliation to calming allergies to purifying pores. Read more about Dead Sea salt here.
In fact, you can use just about any natural salt. Hawaiian black lava salt is another great option, loaded with purifying activated charcoal. Or why not try Hawaiian red salt, which is packed with mineral-rich alaea clay? Plain sea salt works great too.
Food colouring is obviously what gives the mixture its colour - you can use any kind you like! Essential oils will give the bath a gorgeous aroma. Use your favourite: lavender oil, rosehip oil, frankincense - 30 or 40 drops should do it.
Try adding dried, crushed herbs or plants for a completely luxurious experience. Ginger, rosemary, herbal tea, lavender are all magnificent.
Other items
Method:
Making bath bombs is super easy - it’s really all about getting the proportions right, then mixing them all together. Using measuring cups is fine, but if you want to be exact with your ingredients, we recommend using a digital scale if you have one at home.
1 - Place the salt, baking soda, citric acid and cornstarch into a mixing bowl and stir until well combined.
2 - In a separate bowl (or jar) mix together the natural oil, water, food colouring and essential oils. Mix well until combined.
3 - Slowly add the liquid mixture to the dry ingredients, one spoon at a time while mixing together.
4 - If you’re using herbs or flowers, add these last.
5 - Test the mixture. It should be slightly moist, and should be able to hold together firmly without crumbling. If it is too dry, try adding very small amounts of water until you get it right (using a spray bottle is a great way to distribute water evenly).
6 - Once you’re happy with the mixture, spoon into the moulds and press firmly.
7 - Once the mould are filled, leave out to dry for at least 24 hours, or as much as 48 hours.
8 - After the bombs have dried, gently remove and place in an airtight container. Now they are ready to use!
Bath bombs are a great way to relax and rewind, rejuvenate the skin and soothe aching joints and muscles. We hope you enjoy making them and using them!